Guide to Making Wizard of Oz Costumes and Props
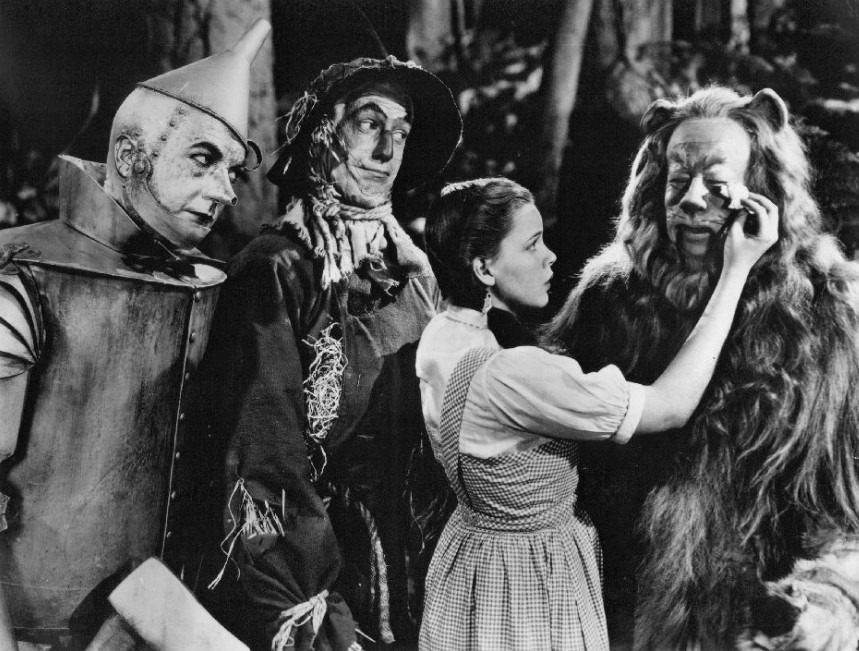
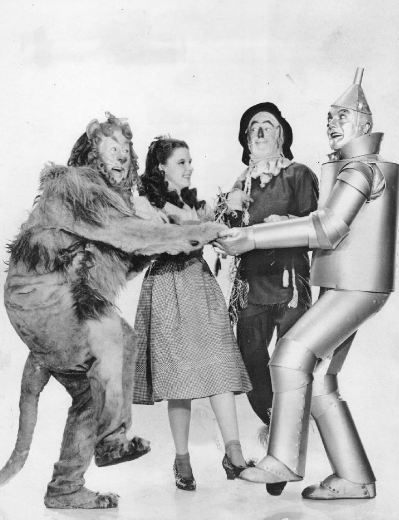
What a better way to have a birthday party, a play presentation, or a slumber sleepover than to have The Wizard of Oz as a theme? The magical world of The Wizard of Oz is such a wonderful movie, more so, a theme that you can implement in your fun gatherings. Whatever gathering you may have coming up, celebrating down the yellow brick road is undeniably one of the best ways to have fun, especially when the kids are around.
So, what are you waiting for? Follow us to Oz for our guide to making The Wizard of Oz costumes and props to get everyone over-the-rainbow. We included instructions to make the preparation easier for you. Without further ado, let’s jump to the basics: costumes!
Dorothy (with Toto)
Decide who will play as Dorothy, then prepare the costume for her to search for the Wizard! Cop a classic gingham patterned dress, white socks, and don’t forget the glittery red ruby slippers! Dorothy’s costume is probably the most important yet easiest one to make. Just go to your local thrift store and you are bound to see clothes that fit her character. And for the hairstyle, create some cute pigtails and finish off with red ribbons. Don’t forget the basket, too!
Wicked Witch of the West
Who needs an army of monkeys to ace this costume? Just don any black dress and then add a green face paint for that bewitching look! Add a broom made out of branches and voila—the wicked witch of the west is ready to bring doom (and an element of fun) to the celebration.
Flying Monkey
For the Flying Monkey, a child would only wear a plain t-shirt or a pullover, a vest that has blue and red prints (you can easily DIY with the help of felt, kraft or construction papers), DIY small hat (a 16-ounce plastic tub wrapped in kraft papers would do), and DIY wings! Here are the things you’ll need for the wings: an old pair of angel, butterfly, or fairy wings of any color, scissors, brown felt paper in two different tones (half a yard of each color), glue gun, felt glue.
- Dismantle the bottom half of the old pair of wings. The structure will work as the overall base for the monkey wings. Since most wings have two sections, you’d only want to keep the top section only. To do this, undo the middle connector that binds the two sections and disregard the bottom part.
- Cut the brown felt. Place the felt paper beneath the wings, and then cut it 1 inch bigger than the edges of the wings. Set aside,
- Cut the feathers using the two different tones of brown felt paper. Cut almond-shaped feathers around 5 inches long and 3 inches wide. Remember to notch the sides of the feathers to add pizzaz and details. Don’t worry about being perfect here—just cut different shapes of feathers, around 50 pieces.
Wrap the edges of the brown felt around the edges of the wings and secure everything using a glue gun. Afterwards, secure the feathers in place. Begin at the bottom part of the wings then work up, making sure to overlap the feathers so the wing structure is completely covered. Place the two brown felt tones randomly all over the wing base.
Tin Man
Got rusty creativity? No problem! You can put together an easy and affordable Tin Man costume in just a couple of hours with just a pair of sweatpants, sewing machine, and spray paint! Here’s a brief instruction about creating this costume:
- First, measure the shirt size of the wearer (width and length), shoulder to shoulder. Then measure from the shoulder down to the bottom part of the hips.
- Fold the vinyl fabric (2 yards of any color) in half. Measure it to a rectangle to match the measurements of the wearer. Use straight pins to hold the layers together and then cut it into a rectangle, leaving the fold part intact.
- Cut a neck hole in the middle.
- Trace the hole and cut a vinyl circle an inch larger than the mark.
- Fold the circle in half with the right side facing out, just like a taco. Use a pen to create an arc from point to point just across the center, then cut out along the lines you made.
- Pin the collar in the neck hole then add a patch before sewing everything together.
- Add a bow tie to the collar then staple it at the center part. Sew the sides of the shirt, cut a slit in the back part, and then add buttons at the center part.
Props
For The Wizard of Oz props, here are some key elements that you may want to add in your play or party:
Hourglass (made out of two plastic bottles, two plywood circles, and 3 pcs of dowel)
Yellow Brick Road (made out of used cartons and yellow paint)